
I have a new Christmas version of my Stack and Cut Quilt Cards made just for the weekly Splitcoaststamper tutorial. These have been in planning mode since I saw the quilt stamps and framelits in the Holiday catalog back in July!
These are really easy to make! The video is quite helpful in seeing how to do them. For the written tutorial on the SCS site please click HERE.
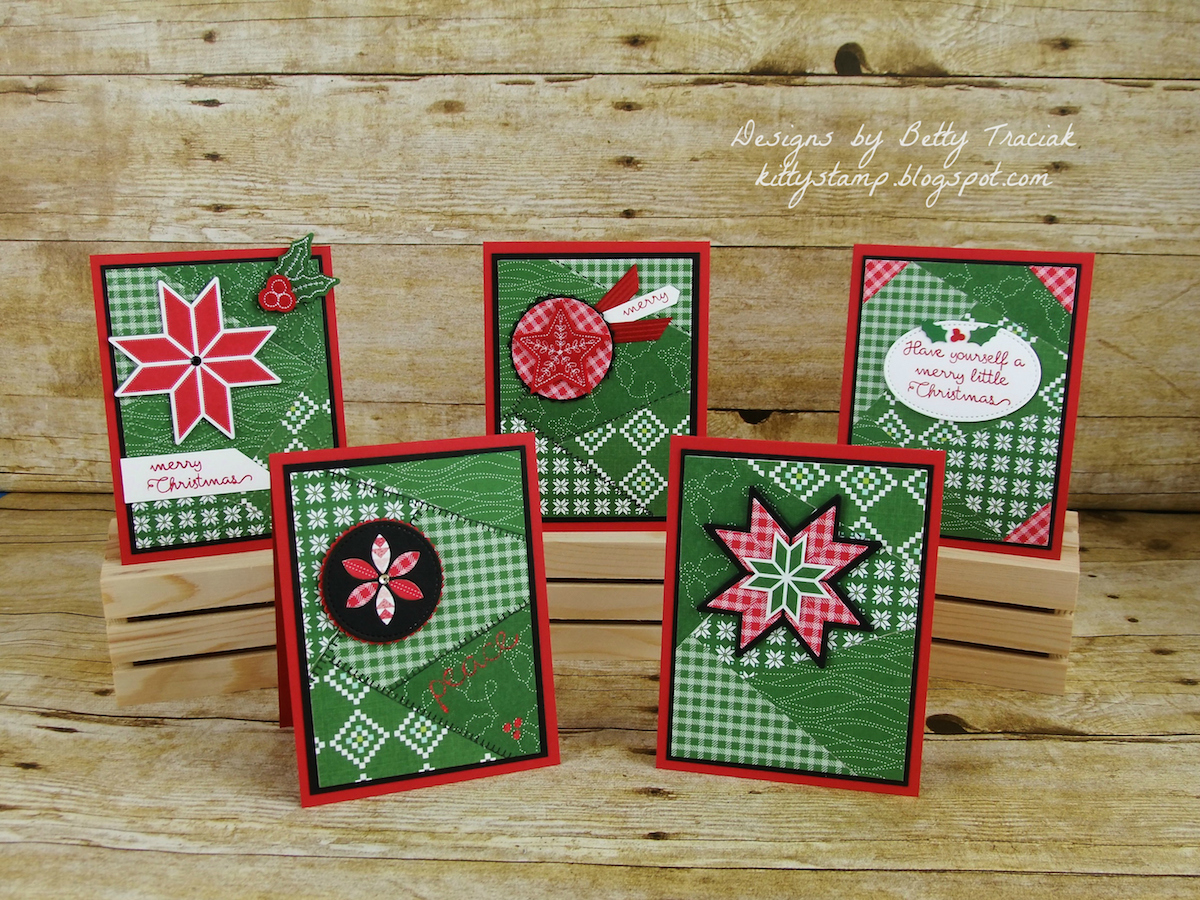
Each card has different details and added techniques:
This one has dry embossing, felt embellishments, and a cutout from the Designer Series Paper.

Here the stitching is stamped and I lined up the DSP in the inlay to create a secondary design. There is also a bit of heat embossing in the bottom right.

I used a marker to draw a variety of stitching lines on this one.

Here I used the framelits to make the medallion - the gingham is my favorite pattern in this DSP!

And for this one I added more gingham in the corners- these were left overs from die-cutting the last card pieces.

Supplies
used:
Stamps: Christmas Quilt
Paper: Quilted Christmas Designer Series Paper, Garden Green, Real
Red, Basic Black and Whisper White Cardstock
Ink: Real Red, Basic Black Stamp’ n Write Marker, Versamark
Accessories: Stitched Felt
Embellishments, Rhinestone Basic Jewels, Black Rhinestone Jewels, Black Vintage
Crochet Trim
Big Shot: Quilt Top Textured Impressions Folder, Quilt Builder Framelits,
Stitched Shapes Framelits, Layering Circles Framelits
Punches: Classic Label
No comments:
Post a Comment